Natural Face Wash with Honey

Natural Face Wash with Honey
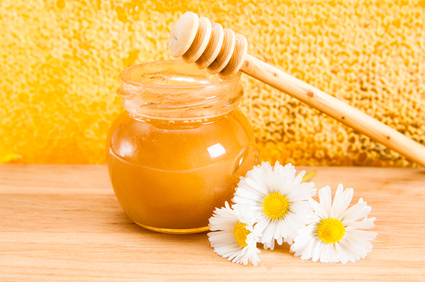
Healthy skin starts with clean skin. Washing your face twice a day is important for hygiene purposes, but be careful what you use on the face because too much of one thing can dry out skin or cause it to become oily.

Did you know honey has many health properties for the body like honey curbing allergies? Honey can cleanse without drying out the skin.

In the Morning

Washing your face when you first wake up can be a great idea to wake you up. However, it might be better to wait until you get into the shower. A clean face and steam can open up the pores and cleanse deep down, removing dirt and oils.

Use a facial cleanser that is gentle and works with your skin type. However, a great natural cleanser is honey.

Add a Teaspoon of Honey

Honey is thick and sticky, but it’s also antibacterial and antifungal. Using honey as a cleanser can be messy, so using it before you get into the shower can make it a lot easier to work with.

Apply a dollop of honey all over your face. Using clean fingers to massage into your skin can be super soothing. You can rinse it off immediately with warm water.

Your face will feel clean and soft and ready for your daily routine.

Night Time Face

After a day of makeup, sweat and stress use a cleanser that can remove all the makeup and dirt of the day. Using an exfoliant cleanser is great to remove dead skin cells.

You can choose to use a regular cleanser or use honey again. Adding a little shake of salt along with the honey can make a natural exfoliant. Rinse with warm water to remove all the honey. Pat dry with a clean cloth.

Your skin will feel like silk and have a beautiful glow.

You can continue with your regular nighttime skincare moisturizers.

Make a Mask

If daily washing with honey doesn’t sound appealing, making a facial mask using honey is simple and easy. Apply a layer of honey over your face and neck. Let the honey sit for 10-15 minutes and will soak deep down to prevent acne and fine lines. Rinse with warm water and pat dry. Continue with your regular skincare moisturizers.

Honey is a healthy source to be used on the skin. It can also benefit the skin by ingesting a small dose daily. If you are allergic to honey or bees do not use honey. Talk with your doctor before trying honey if you think you could have an issue with honey.

Tia, and TipsfromTia.com  is trying to keep you looking good and
feeling good, from the inside out. If you’ve got a problem or a tip email me! Be sure to Like and share on Facebook or Follow on Twitter or Instagram.

What Lemon Can Do For Your Hair

What Lemon Can Do For Your Hair

So many things can easily damage your hair. Heat, sun, chlorine, color treatments, and much more have been known to hurt the condition of your hair. Aging can dull and thin hair as our bodies lose natural resources that keep the hair young and vibrant. Medication can cause hair to lose life and medical conditions can cause hair loss.

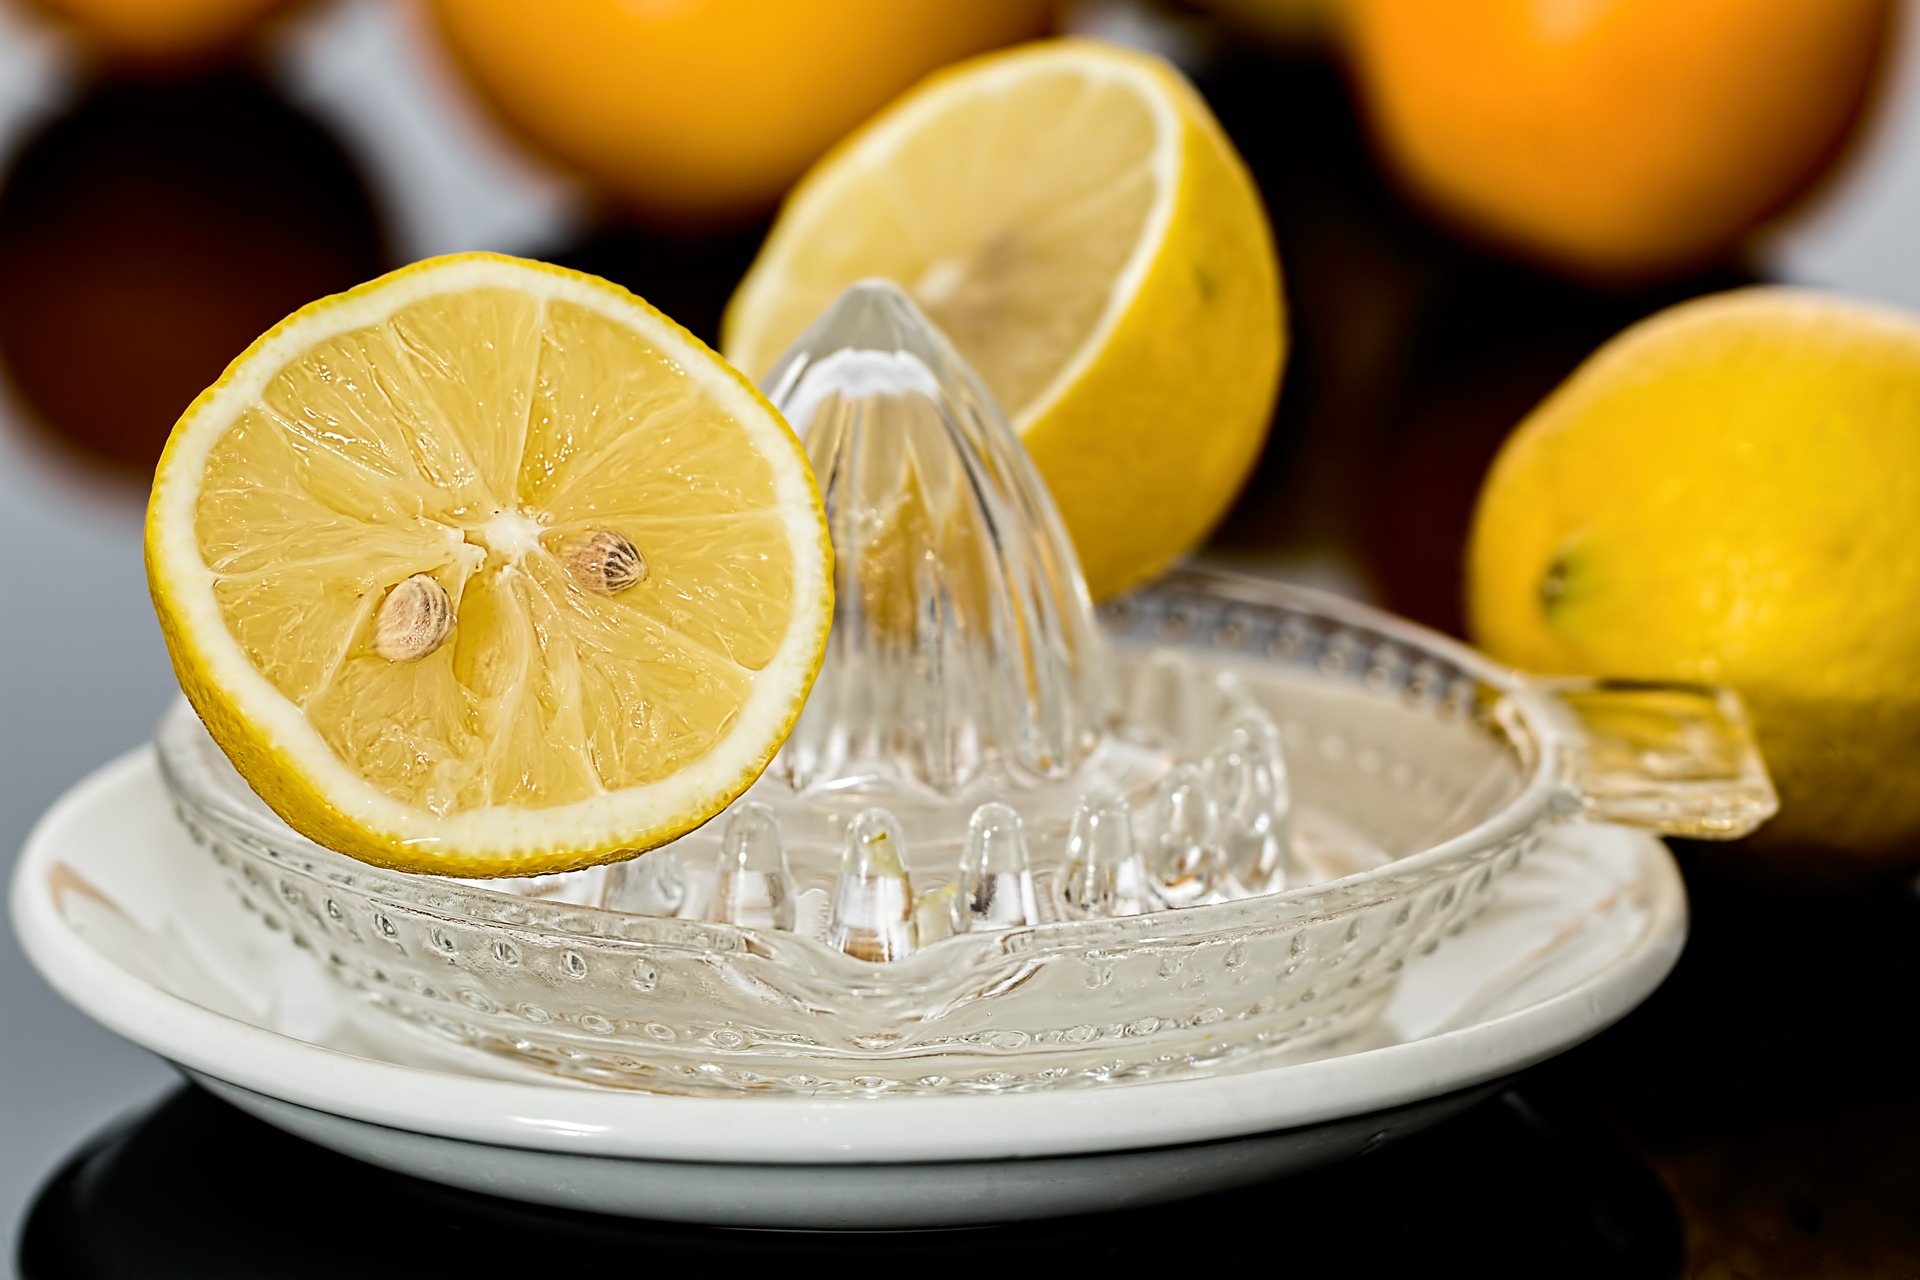
There are so many things that challenge our locks to stay thick and shiny, but with the help of lemons, hair can get a boost naturally.

When Life Gives You Lemons

Lemons are a perfect source for Vitamin C, which can boost the immune system as well as your appearance.

Having lemons on hand can be useful for many lifestyle tips, like treating migraines, lightening freckles, and much more, but this time, we are focusing on your hair.

Make It Shine

Using lemons to bring back shine to your dull strands is easy.

Mix a half cup of lemon juice with a tablespoon of olive oil. Blend well.

Apply the mixture onto your hair in sections, so it covers evenly. Comb through and let sit for 10-15 minutes. Rinse thoroughly.

Alternatively: If kept refrigerated, this mixture is safe to consume only a few (1-2) drops each morning to internally help build shine. Remember to shake the mixture well before using. However, if you suffer from stomach issues or GERD, it’s better to use the mixture externally.

Kick the Flakes

Dandruff is a major hassle for those who suffer from a dry scalp. Lemon juice can eliminate dandruff and keep your scalp clean and flake-free.

Use lemon juice along with aloe for the best antifungal treatment to prevent dandruff. Take a half of lemon and squeeze the juice into a bowl. Mix with a tablespoon of aloe gel and blend well. Apply with a clean color brush applicator or carefully apply onto your scalp. Let sit for 20 minutes and then rinse thoroughly.

Stop Hair loss With Lemons

Using half a lemon along with a 1/2 cup of coconut water can be a calming solution to put on hair to prevent hair loss. It also has strengthening properties that can help prevent breakage. Apply the solution over the scalp and hair. Let sit for 30 minutes and wash out with shampoo. Condition hair as normal.

Lemons are usually healthy to ingest and use externally. Be sure to use with caution since lemons are naturally acidic. Doing a treatment and going out in the sun can naturally lighten your hair. Don’t use any treatment more than twice a week since overusing the acidic fruit can cause damage. If you are allergic to lemons, do not try any of these mixtures. If you have any burning or irritation, wash out of hair immediately and discard mixture.

Tia, and TipsfromTia.com  is trying to keep you looking good and
feeling good, from the inside out. If you’ve got a problem or a tip email me! Be sure to Like and share on Facebook or Follow on Twitter or Instagram.

Clean Metals Naturally

Clean Metals Naturally

So you’ve decluttered the house and found grandmom’s silver or cleaned out the old jewelry box, and now, you have dull metal that has lost its luster. Is it time to part ways with that old jewelry or vintage silver platter?

It doesn’t have to be that way. The fact is that as long as the metal isn’t pitted or rusted, it can easily come back to life, even if you aren’t a pro master of metal. Taking signature pieces to a professional is ideal, but it might not be easy to get to Cartier for polishing your jewelry twice a year.

Silver’s Gone

Silver is one of the most challenging metals to keep beautiful and shiny since oxygen plays a huge role in tarnishing its luster.

As silver starts to dull, it will turn into a rose color that will eventually have a hue of black or green. It’s bizarre how it loses that shine in the process, even if the tarnish still has a unique beauty of its own.

Polish Silver

Silver polish is the easiest way to chemically remove the unwanted tarnish. Usually, a distinct smelling white paste is slathered on the silver and after a minute or so, you can wipe away the tarnish.

But is there a natural way to remove tarnish without the smelly mess?

Yes. And it’s by using science.

Soak the Silver

A natural way to get silver back to its glory and shine is with a soak in water with foil, baking soda and salt.

First, lay pieces of foil into a bowl or basin of water. Add in two tablespoons of salt. Add two tablespoons of baking soda. Put silver into the mixture and let sit for up to 5 minutes.

Remove the silver and wipe to shine.

Bring Back Brass

Brass can dull over time causing the beautiful metal to look dirty. There are polishes on the market that are specifically made for brass. However, there is a great natural way to bring brass back to life.

Pass the Ketchup

Using ketchup on brass is an easy way to revitalize the metal and remove the dinge.

Put ketchup directly on the metal and let it sit for 10 minutes. Once the time is up, wipe away ketchup with a wet cloth. The smell and dirt will wipe away instantly.

Be sure to place paper or towels under the metal, so the ketchup doesn’t stain any surfaces.

Stay Gold

Gold rarely loses shine on pieces that are regularly taken care of. However, once in a while vintage pieces need some extra TLC.

Gold is a soft metal that needs to be treated gently. Toothpaste can really bring back a shine, but some can be way too abrasive. So, if using toothpaste, do not let it sit on the metal because it can break it down quickly.

Instead, try a mix of dish soap, baking soda and water. Let the gold sit for a minute or two. A soft toothbrush can assist you in tricky dirt spots, but in most cases, all you’ll need to do is rinse and wipe to bring back the shine.

Conclusion

Keeping your metals looking new can be simple using these household items. Taking care of metals can reduce the elbow grease needed to bring back the luster. Treating metals should only need to be done about twice a year to keep things looking new.

If metal is scratched or damaged, taking it to a jeweler is the best way to go.

Tia, and TipsfromTia.com  is trying to keep you looking good and
feeling good, from the inside out. If you’ve got a problem or a tip email me! Be sure to Like and share on Facebook or Follow on Twitter or Instagram

4 Things to Do When Moving Out for the First Time

4 Things to Do When Moving Out for the First Time

Congratulations! You’re finally moving out on your own. It’s an exciting time, but it can also be a little daunting. There are so many things to do when you’re moving out for the first time, and it can be hard to know where to start. That’s why we’ve put together this blog with four things you need to do when moving out for the first time. From setting up your new home to getting settled into your community, we’ve got you covered!

Photo by Sarah Brown on Unsplash

Finding a Place to Live

The first step in moving out on your own is finding a place to live. If you’re looking into apartments for rent, start by searching for apartments in your price range and desired location. If you’re buying a home, begin by getting pre-approved for a mortgage and looking for homes that fit your budget. Once you’ve found a few places you like, schedule tours and decide which one is the best fit for you.

Make a List of Everything You Need to do Before You Move

This may seem like a no-brainer, but it’s important to make sure you have all your bases covered before you move out. Make a list of everything you need to do, from packing up your belongings to transferring your utilities. This will help ensure that you don’t forget anything important and that your move goes as smoothly as possible. If possible, start working on this list well in advance of your move-out date. That way, you won’t be scrambling at the last minute and can take care of everything in a calm and orderly fashion. Here are some key items that should be on your list:

  • Pack up all your belongings
  • Arrange for transportation
  • Transfer your utilities
  • Set up your new home
  • Unpack and settle into your new place

Of course, this is just a general list. Your specific needs will vary depending on your situation. Just make sure you’ve thought of everything before you make the big move!

Pack Your Belongings

Once you’ve made your list of everything you need to do before you move, it’s time to start packing up your belongings. Begin by going through your things and deciding what you want to take with you and what you can leave behind. If you’re moving into a smaller space, now is the time to purge any unnecessary items. Once you’ve sorted through your belongings, start packing them up in boxes or storage bins. Be sure to label each box with its contents and the room it should go in at your new place. This will make unpacking a breeze! If possible, start packing well in advance of your move-out date. This will help reduce the stress of moving and ensure that everything is packed and ready to go when it’s time to hit the road.

Get Involved in Your Community

One of the best ways to make your new home feel like home is to get involved in your community. There are many ways to do this, such as volunteering, joining local clubs or organizations, or simply attending community events. Getting involved in your community will help you meet new people, learn about local resources, and find your place in your new hometown. So get out there and start exploring!

Photo by Brooke Cagle on Unsplash

Follow these simple tips, and you’ll be on your way to a smooth move-out! Just remember to take things one step at a time, and you’ll be settling into your new place in no time!

Tia, and TipsfromTia.com  is trying to keep you looking good and
feeling good, from the inside out. If you’ve got a problem or a tip email me! Be sure to Like and share on Facebook or Follow on Twitter or Instagram

Reheating Rice

Reheating Rice

Image by takedahrs from Pixabay

Have you ever had leftover rice and tried to reheat it? It’s hard and can be quite nasty to ingest. That’s because it is dehydrated.

For some amazing reason, rice loses all its water content in the refrigerator. It has something to do with the starch molecules and them getting rearranged in the cool air. Anyhow, all is not hopeless when rice dries out. It can be brought back to life in several different ways.

When I Was A Kid

When I was a kid, I had a Koren friend that told me in her home they made a cauldron of white rice for the week. They would cool the rice, so then the rice could be left out and it would keep fresh and sticky. It wouldn’t lose hydration or go bad as long as it stayed covered properly.

I took this lesson to heart because ever since then, I have left my extra box of white rice on the counter for leftover Chinese food. However, that isn’t possible to do with pork fried rice or any other fried rice because it contains other ingredients like egg, veggies and meats.

Poultry Goes Bad Quickly

Any egg, chicken or pork that is left out for a couple of hours can go bad quickly. You should never let unfrozen or uncured meats or eggs stay at room temperature for longer than 2-3 hours. Bacteria can start in and cause some serious issues for your digestive system.

I’ve always used the mantra, ‘When in doubt, throw it out’. Some folks have stronger stomachs than others, but if you have a sensitive stomach, eating something that has been left out for over 8 hours in the heat, will put you in a lot of hurt.

So, now that you know fried rice needs to be refrigerated, how do you get it back to steamed fresh when it comes to leftovers?

Reheating Rice On the Stove

On the stovetop, it is simple to reheat rice. Put the rice in a medium saucepan. Add a nice sprinkle of water or about a 1/4 cup at most. Mix around with the dry rice and add a lid. It won’t take long to heat up, so stay nearby. Continue to stir every few minutes. Once the rice is fluffy again, you are good to go.

Reheating Rice In the Microwave

Put the rice in a microwave-safe dish. Now you can do the same and sprinkle in a little bit of water and cook for 45 seconds to a minute, but I’ve got a better idea.

Reheat Rice With an Ice Cube

Place rice in a microwave-safe bowl. Place one ice cube on top of the rice pile and put it into the microwave. Cook rice for 45 seconds to a minute on high.

Be careful when removing the bowl. It will be hot and steamy. The ice cube will be laying on top of the rice still, looking intact. However, the rice will be fluffy and tender, just like it was the first time you made it. Toss the ice cube, stir and serve.

The bonus is that it usually keeps the rice from exploding and you need to clean the microwave afterward.

If it needs more time in the microwave, use the ice cube and reheat some more.

Reheating rice is simple and delicious with this simple trick. It’s a great time saver because now you can make more rice and reheat it whenever. Plus, it’s a great trick for those who meal prep; no more crunchy rice!

Tia, and TipsfromTia.com  is trying to keep you looking good and
feeling good, from the inside out. If you’ve got a problem or a tip email me! Be sure to Like and share on Facebook or Follow on Twitter or Instagram

Everyday Tips from Tia